How to Saddle a Horse in 8 Simple Steps
Posted by Lynnsy Diekman - Saddle Up on Feb 2nd 2026
At a Glance: A properly saddled horse stays comfortable throughout the ride, and a secure saddle keeps the rider safe in the seat. This guide covers the full process, from grooming your horse's back to adjusting your stirrups, so you can tack up with confidence every time.
If you've ever watched a seasoned cowboy tack up before a trail ride, you know the whole process looks effortless. For newer riders, figuring out how to saddle a horse can feel a little scary at first, but once you've done it a few times, saddling up becomes second nature. This guide breaks down the process into simple steps so you can get your horse ready to ride safely and comfortably every time.
Why Proper Saddling Matters
There's nothing quite like throwing a leg over a well-fitted western saddle and heading out for a trail ride through the Colorado mountains or warming up for a day in the arena. Before you can enjoy that comfortable ride, you need to know how to saddle a horse the right way.
A saddle that's positioned correctly distributes the rider's weight evenly across the horse's back, preventing soreness and allowing your horse to move freely. Poor saddle fit or sloppy cinching can cause discomfort, behavioral issues, and even injury over a period of time.
The western saddle evolved from Spanish vaquero traditions and has been refined by generations of ranchers and trail riders across the American West. Unlike English saddles, western saddles feature a horn, deeper seat, and heavier construction designed for long hours of work and stability. Many riders find the western style of saddling straightforward once they understand the basics.

What You'll Need
Before you start, gather your gear. Having everything within reach makes the process smoother for both you and your horse.
- A properly fitted western saddle with a saddle tree that matches your horse's back shape
- A quality saddle pad or saddle blanket for cushioning
- Front cinch (and back cinch if you’re riding in hilly terrain, doing speed events or ranch work)
- Off Billet and Tie strap or latigo
- Breast collar (optional, great for trail riding in hilly terrain)
- Grooming supplies to clean your horse's back
- Headstall, bit, and reins for when you're ready to ride
Step 1: Prepare Your Horse
Good saddling starts with good grooming. Use a curry comb and brush to remove any dirt, debris, or loose hair from your horse's back, sides, and girth area. Pay close attention to the area behind the shoulder blade where the front cinch will sit. Any dried mud or grit trapped under the saddle pad or cinch areas can cause irritation and sores during your ride. Run your hands along your horse's back to feel for any bumps, cuts, or sensitive spots that might need attention before you ride.
Step 2: Position the Saddle Pad
Place your saddle pad or saddle blanket on your horse's back, positioning it slightly forward of where it will eventually rest. The pad should sit a few inches forward of its final position, up on the withers. You'll slide it back into place with the saddle, which helps the hair lie flat underneath. Make sure the pad is centered on your horse's spine with equal amounts of material on each side. A general rule is to have 1.5” to 2” of your pad showing in the front and back of your saddle. A quality pad provides cushioning and helps the saddle tree distribute the rider's weight evenly. At Saddle Up Colorado, we have several saddle pad options, Diamond Wool pads are a tried and true cowboy pad, we have Impact Gel for all day comfort and contoured options that work great for all-day comfort on the trail.
Step 3: Place the Saddle
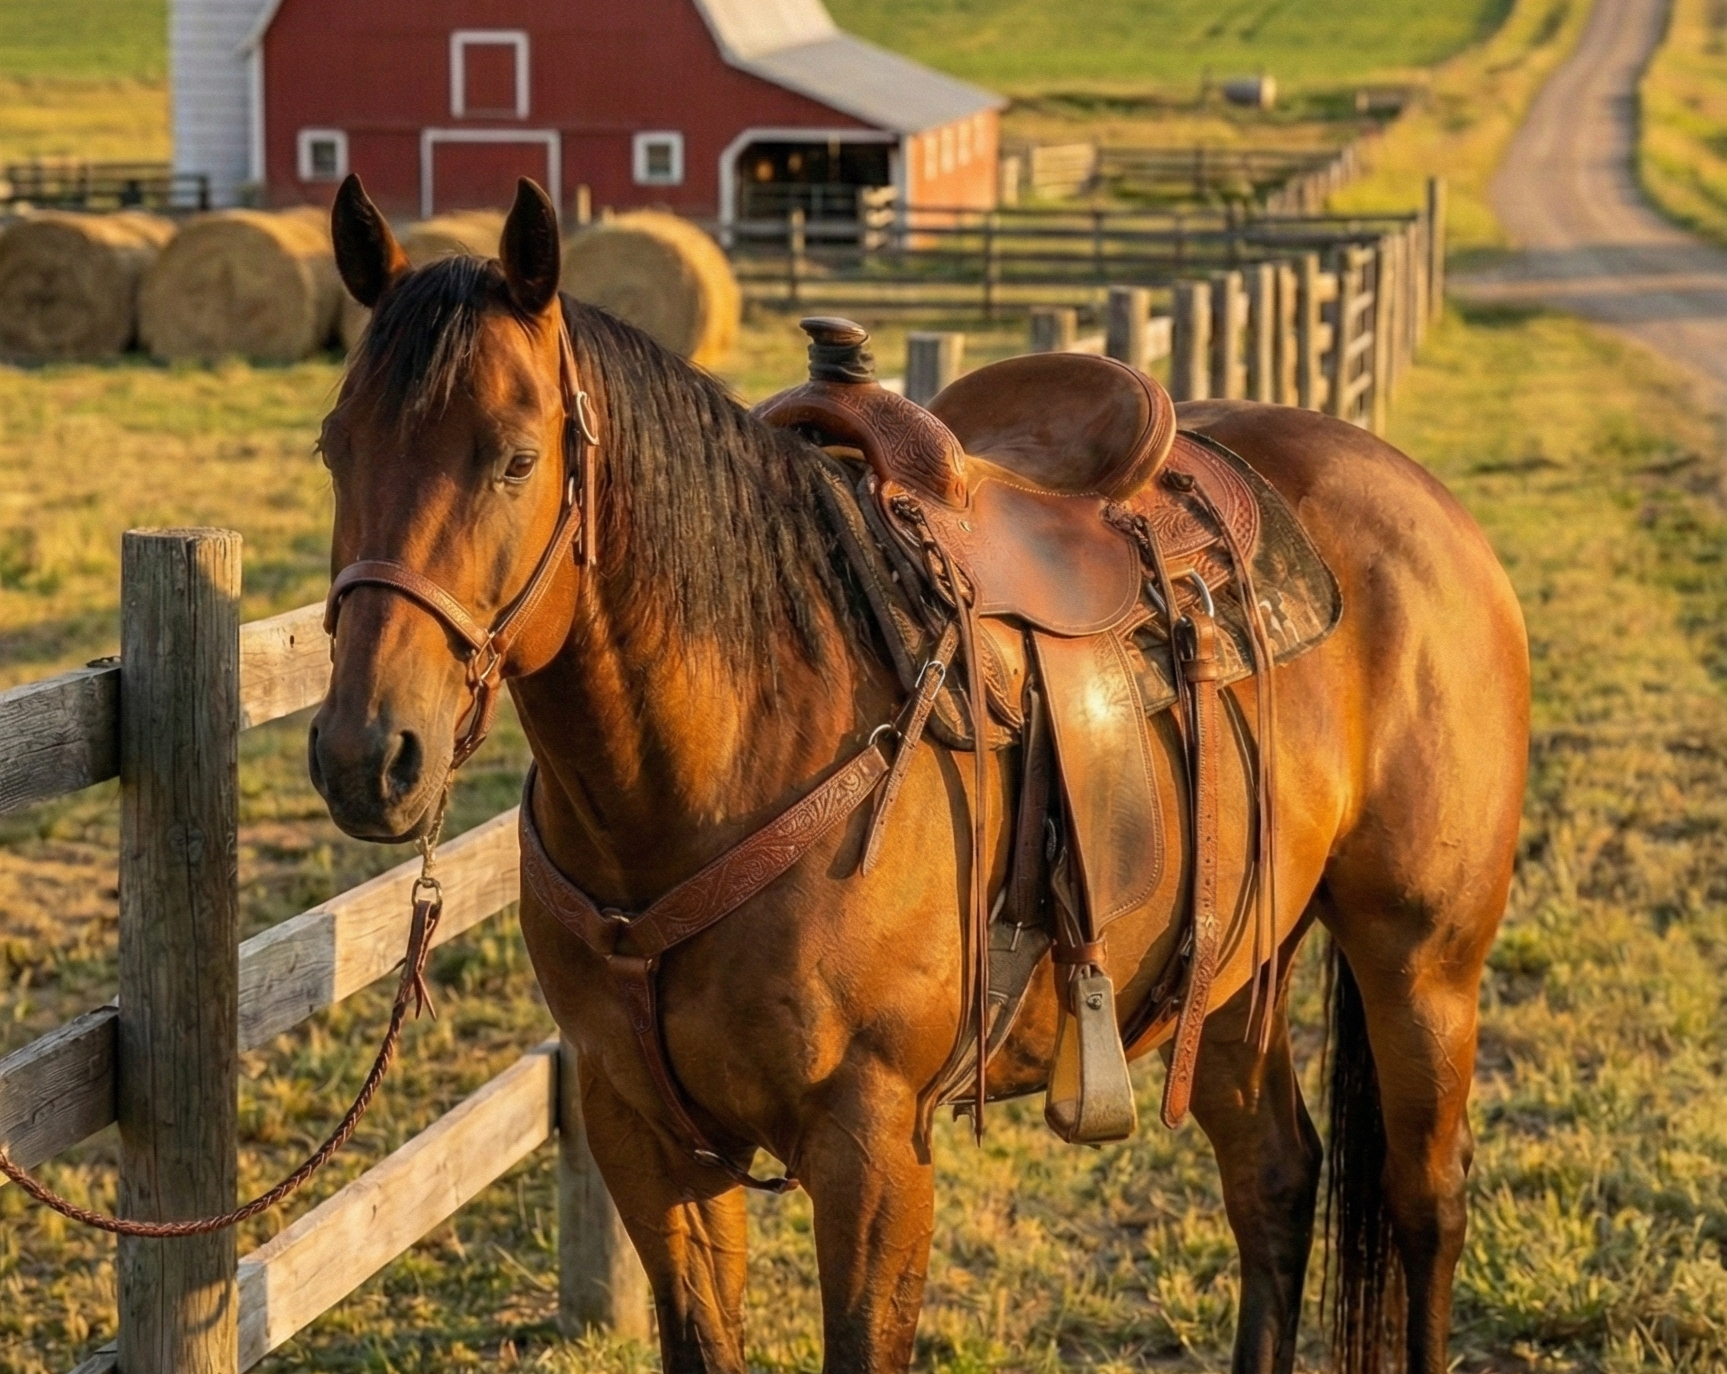
Standing on the horse's left side (the traditional mounting side), make sure the right-side cinch and stirrup are secured over the seat so they don't swing down and startle your horse. Then lift your western saddle and place it gently on top of the pad.
Once positioned, slide the saddle and pad back together an inch or two until everything settles into the natural pocket behind the withers. The front of the saddle tree should rest just behind the shoulder blade so your horse can move freely. Setting the saddle too far forward restricts the shoulder and creates discomfort. Too far back puts pressure in the loin area and does not allow the western saddle to evenly distribute the weight of saddle and rider. The gullet of the saddle should clear the wither with room to spare, the channel (center) of the saddle should not make contact with the horses spine and the saddle bars should make even contact along the horse's back.
Step 4: Check the Saddle Fit
Saddle fitting is where many riders run into trouble. A saddle that doesn't fit properly can cause pain, behavioral issues, and long-term back problems for your horse. If you notice fit issues, address them before your ride rather than pushing through, a poorly fitted saddle won't improve on the trail.
The saddle tree width and angles should match your horse's back shape. Look for even contact along the bars without any pressure points (saddle too narrow in an area) bridging (gaps in the middle or loss of contact in an area) or rocking front-to-back (Typically there is a pivot point, where saddle is too narrow causing rocking front to back). You should be able to slide your hand between the saddle and the horses shoulder at the front without too much pressure, and the bars should rest flat against your horse's sides. If you're unsure about saddle fit, the team at Saddle Up Colorado offers professional saddle fitting services to help match the right saddle to both horse and rider.
Step 5: Secure the Front Cinch
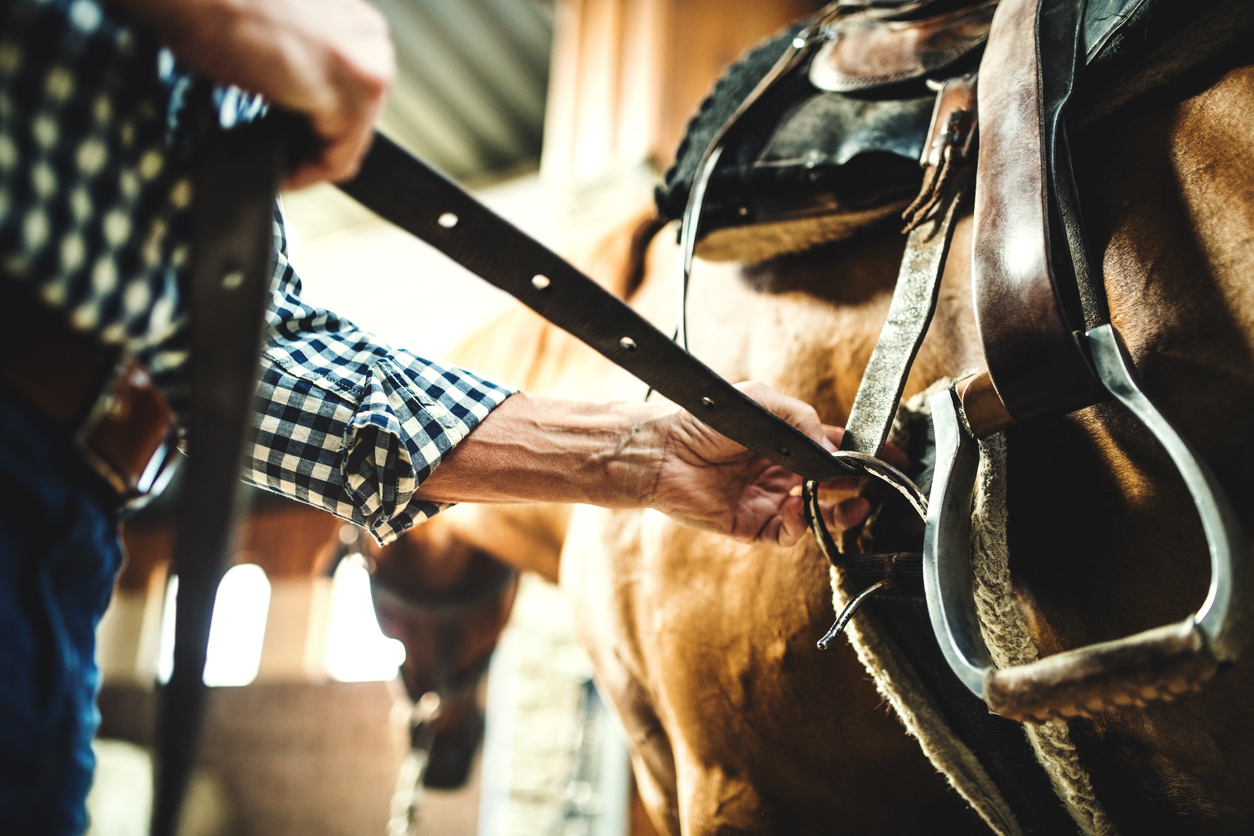
Walk to the right side of your horse and let down the front cinch, making sure it hangs straight without any twists. Return to the left and reach under your horse's belly to grab the cinch. Thread the tie strap or latigo through the D-ring on the cinch, then back up through the rigging ring on the saddle. Pull the strap snug, creating a secure connection. The front cinch should sit about a hand's width behind your horse's front legs, right in the girth groove where the belly naturally narrows. Tighten gradually, giving your horse time to adjust. Many horses will bloat initially, so walk them a few steps and then retighten before mounting.
Step 6: Secure the Back Cinch (If Applicable)
If your saddle has a back cinch, fasten it now. The back cinch provides extra stability for roping, ranch work, or riding hills in steep terrain. It should rest against the belly, snug enough to stay in place but loose enough that you can fit a flat hand between the cinch and your horse's belly. Never leave the back cinch dangling loose during the ride. Always make sure the connecting strap between the front and back cinch is secure so the back cinch can't slide backward and cause a bucking situation. When unsaddling, always unfasten the back cinch first, then the front, the reverse of the saddling order.
Step 7: Attach the Breast Collar (Optional)
For trail rides in mountainous terrain or any situation where the saddle might slip backward, a breast collar adds valuable stability. Attach the breast collar to the D-rings on your saddle and run the center strap between your horse's front legs, securing it to the front cinch. Adjust the fit so the breast collar sits comfortably across the chest without causing pressure or drooping too low. Personal preference plays a role here, but a properly fitted breast collar keeps your saddle in place without restricting your horse's movement.
Step 8: Adjust Your Stirrups
Before mounting, check that your stirrups are adjusted to the correct length for your leg. A good starting point is to adjust the stirrup so it reaches your armpit when you stand next to the saddle with your arm extended along the leather. Once mounted, your leg should have a slight bend at the knee with your heel down and the ball of your foot resting on the stirrup tread. Proper stirrup length keeps you balanced in the seat and gives you stability when the ride gets interesting. Check both the right and left stirrups to make sure they're even.
Final Checks Before You Ride
Before you mount up, run through these quick checks:
- Recheck the front cinch tightness after walking your horse
- Make sure all straps are secured and nothing is dangling
- Verify the saddle pad hasn't shifted or bunched up
- Confirm the saddle sits level and centered on your horse's back
- Test the stirrup adjustment from the ground
Common Mistakes to Avoid
Even experienced riders make these mistakes from time to time:
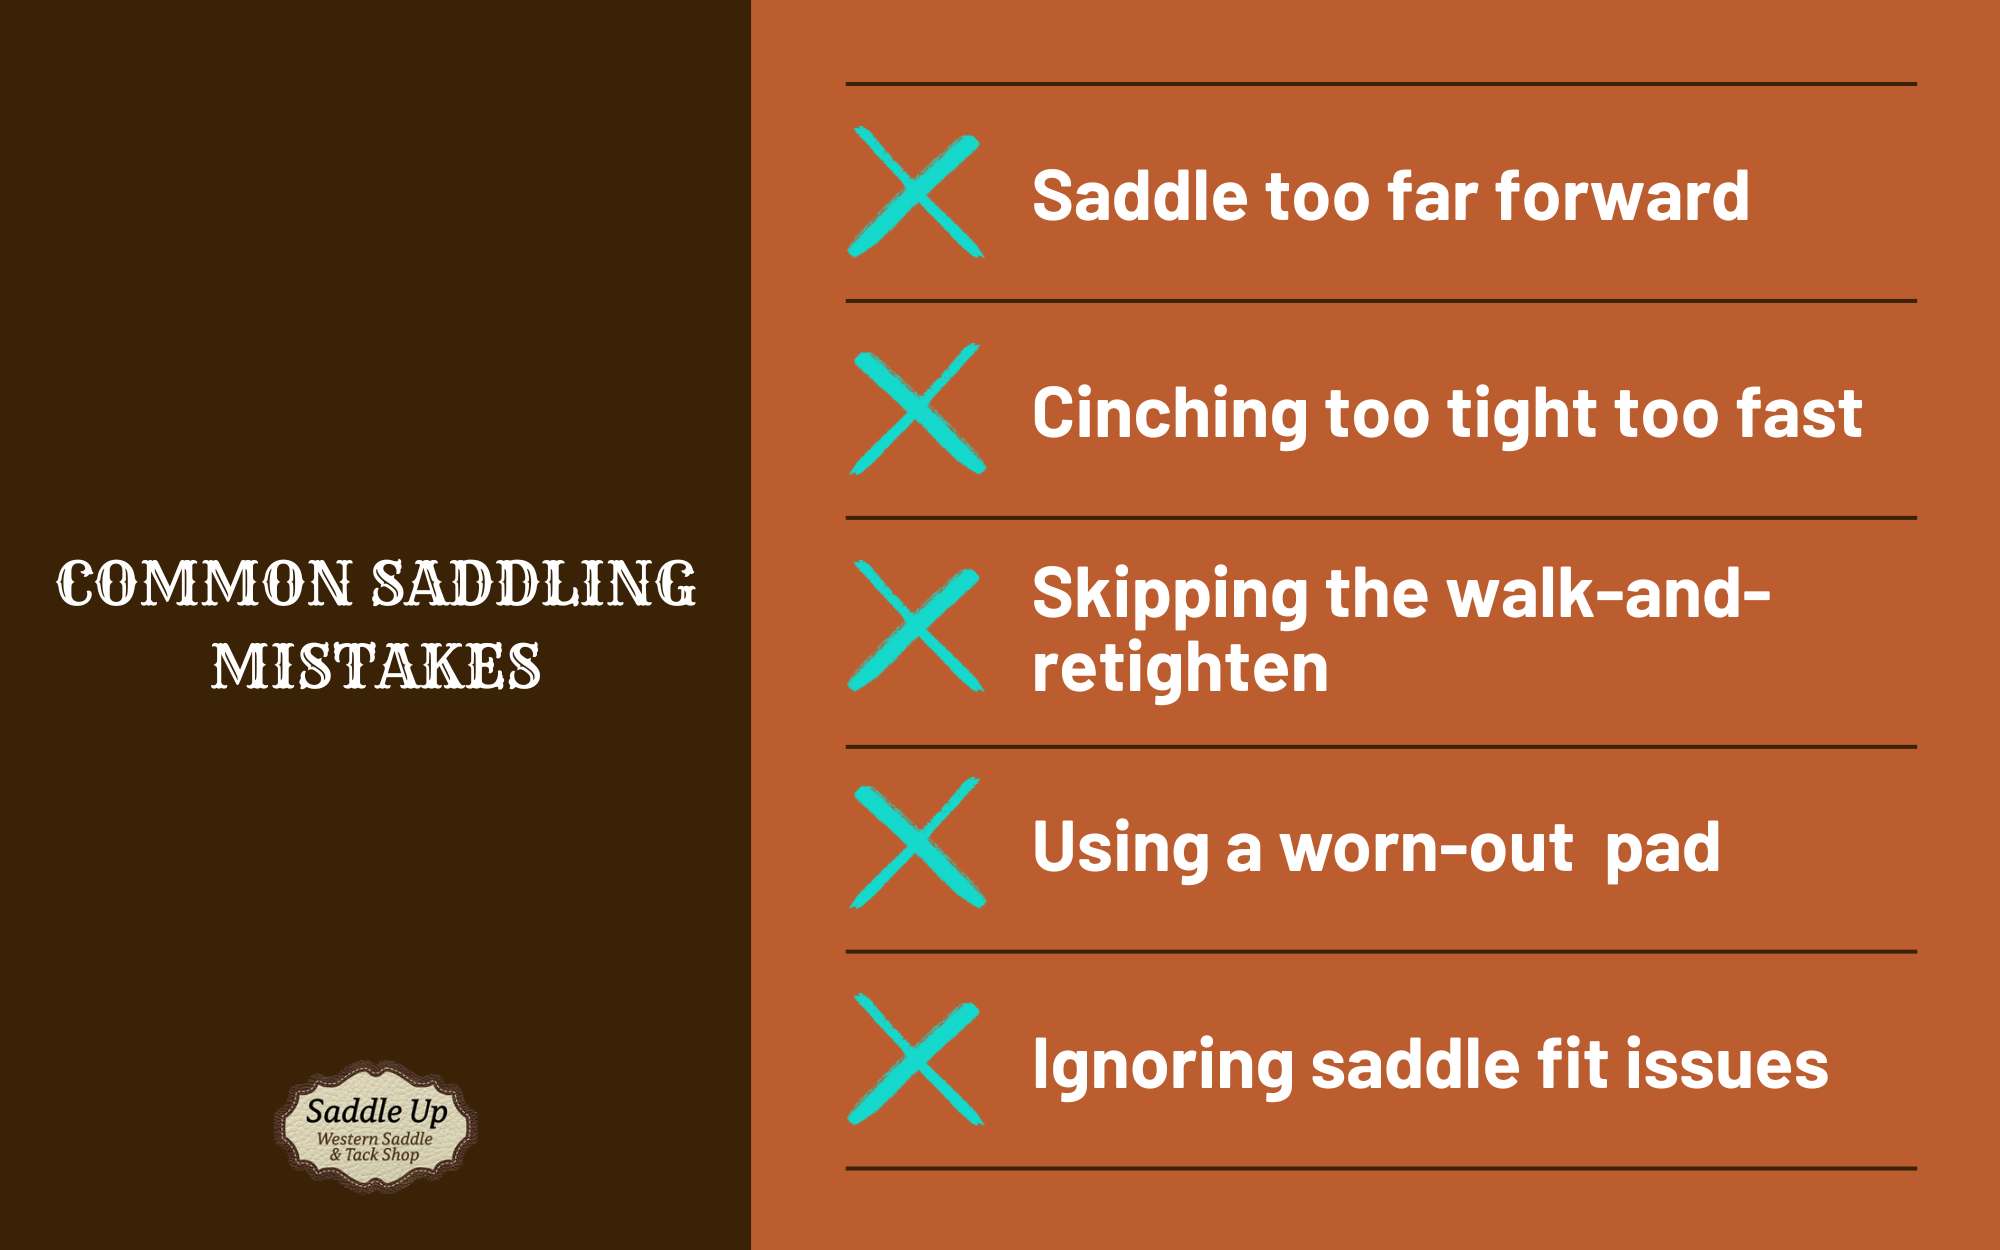
- Placing the saddle too far forward: This restricts shoulder movement and creates discomfort
- Cinching too tight too fast: Gradually tighten to give your horse time to relax
- Skipping the walk-and-retighten: Most horses will bloat, so always check the cinch again
- Using a worn-out pad: A compressed or dirty pad loses its cushioning ability
- Ignoring saddle fit issues: A saddle that doesn't fit will cause problems over time
- Not checking the right side before mounting: Walk around and verify the cinch isn't twisted and everything looks right from both sides.
Get the Right Gear at Saddle Up Colorado
Now that you know how to saddle a horse properly, you're ready to hit the trail with confidence. But even the best technique won't help if your gear isn't up to the task. Quality tack makes all the difference in your horse's comfort and your own enjoyment in the saddle.
At Saddle Up Colorado, we've been helping riders find the perfect saddles and tack since 1997. Our family-owned shop in Gilcrest, Colorado carries over 300 new and used saddles, along with all the other gear you may need: saddle pads, cinches, breast collars, headstalls, reins, stirrups, and all the horse supplies that make riding easier. We offer professional saddle fitting services because we believe in getting it right the first time. Fit the horse. Fit the rider. Fit the budget.
Stop by our shop, give us a call, or browse our selection online. With free shipping on orders over $99, getting quality western tack delivered to your door has never been easier. Saddle up and ride!